 Save
Save This Spooky S'mores Dip is your ticket to effortless Halloween fun or a cozy fall treat when you crave gooey chocolate comfort. Layers of creamy chocolate and marshmallows toast up for a dramatic tabletop show, inviting everyone to grab a graham cracker and dig in. It is festive enough for parties but easy enough to whip up whenever you want that firepit nostalgia—no fire required.
My family calls this our Halloween kickoff treat. One chilly October night we started making Spooky S'mores Dip on a whim now it's become our haunted tradition and neighbors pop by just to see the marshmallow ghosts.
Ingredients
- Semi-sweet chocolate chips: These melt beautifully for a rich base look for glossy chips without a dusty coating for freshness
- Heavy cream: Helps the chocolate melt silky smooth and makes dipping easier the fresher the cream the better the shine
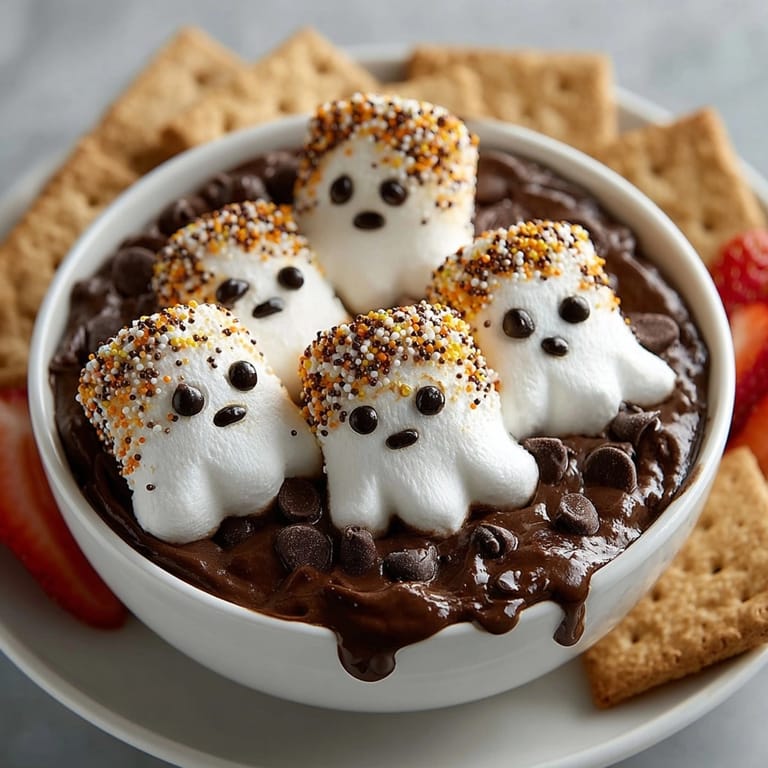
- Large marshmallows or ghost-shaped marshmallows: These puff into that classic s'mores top the ghost shapes always get kids excited for Halloween
- Halloween-themed sprinkles: Optional but they add instant party flair little details make a difference
- Graham crackers: Choose sturdy whole crackers so they do not break when dipping try to pick a brand with a hint of cinnamon for warmth
- Fresh strawberries or apple wedges: Give a tangy bite and balance the sweetness pick ripe but firm fruit for best results
Tired of Takeout? 🥡
Get 10 meals you can make faster than delivery arrives. Seriously.
One email. No spam. Unsubscribe anytime.
Instructions
- Preheat the Oven:
- Set your oven temperature to 350 degrees Fahrenheit or 175 degrees Celsius so everything is hot and ready when it is time to bake
- Melt the Chocolate:
- In a microwave-safe bowl combine the chocolate chips and heavy cream Microwave this mixture for thirty seconds stir well then repeat once or twice more until the chocolate is fully melted and glossy smooth Be gentle with chocolate to avoid scorching and use a spatula to scrape down the sides
- Prepare the Chocolate Layer:
- Pour the melted chocolate mixture into a nine-inch oven-safe skillet or baking dish Use your spatula to spread it into an even layer reaching all the edges for even melting under the marshmallows
- Arrange the Marshmallow Layer:
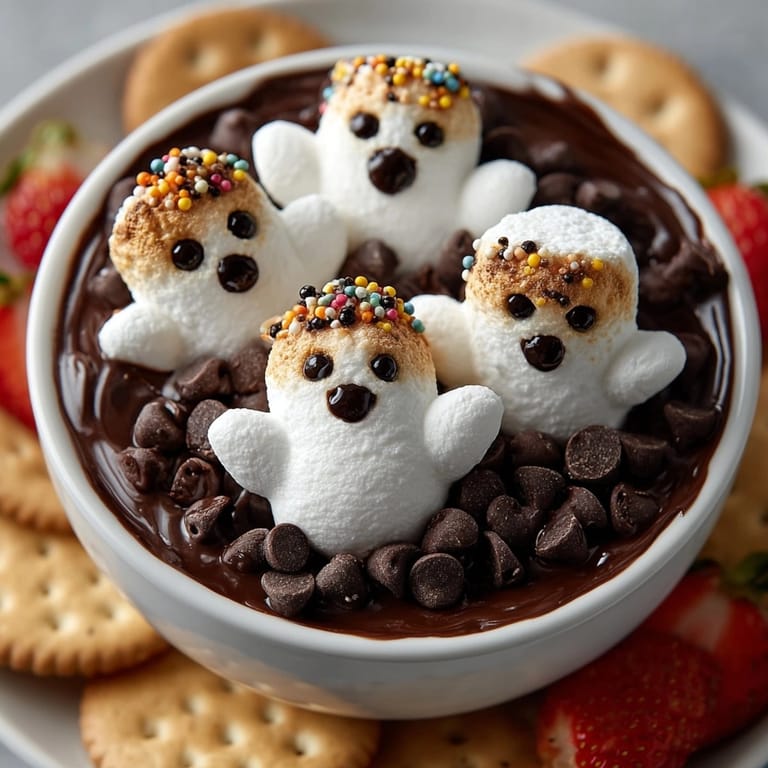
- Top the chocolate entirely with large marshmallows or arrange ghost-shaped marshmallows for a spooky look If using plain marshmallows press mini marshmallows in to create faces or press a few chocolate chips for eyes so every scoop tells a story
- Bake to Golden Gooey Perfection:
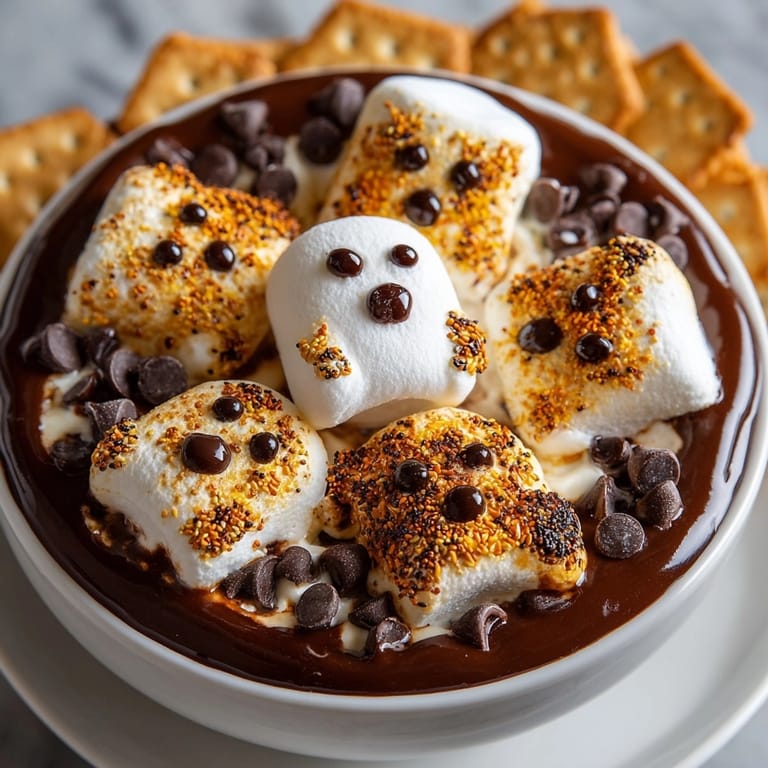
- Place the whole dish in the oven and bake for eight to ten minutes Watch closely at the end the marshmallows should puff up and turn golden but not burn The smell will let you know when it is ready
- Add Festive Sprinkles:
- Once you take the dip from the oven sprinkle Halloween-themed confetti or colored sugar on top to create that party look Work quickly while the marshmallows are still tacky so the sprinkles stick
- Serve Warm with Dippers:
- Bring the skillet to the table still warm and bubbly Offer graham crackers apple wedges and strawberries for dipping Remind everyone to scoop straight down so every bite grabs chocolate and marshmallow
 Save
Save The ghost-shaped marshmallows always spark laughter My little one loves making ghost faces with mini marshmallows and chocolate chips and the playful decorating turns the dessert into a hands-on autumn memory every time
Storage Tips
Cover leftovers tightly with foil or transfer to a sealed container and refrigerate The dip is best eaten fresh but you can reheat it gently in a low oven or in the microwave The marshmallow layer will not be as puffy upon reheating but the chocolate will stay gooey
Ingredient Substitutions
Swap heavy cream for full-fat coconut milk for a dairy-free version Use vegan or gelatin-free marshmallows and allergy-friendly chocolate to make it fully plant-based Gluten-free graham crackers make this suitable for gluten-sensitive guests
Serving Suggestions
Serve warm with a spread of graham crackers fresh fruit cubes or try pretzel rods for a salty twist Set up a little tray so everyone has choices You can scatter extra marshmallows or Halloween candies around the dish for a festive look
Cultural and Holiday Context
S'mores are an American campfire classic but this skillet version brings all the nostalgia indoors for autumn and Halloween celebrations Customizing the topping with ghost faces themed sprinkles or candy eyes invites creative fun for kids and adults alike
Seasonal Adaptations
Try peppermint marshmallows and crushed candy canes for a wintry spin at the holidays Add a layer of apple butter between the chocolate and marshmallow for a harvest treat Switch up the sprinkles and shapes for any celebration this dip is endlessly adaptable
Success Stories
I have seen this dessert quickly become the most-requested Halloween party treat in our neighborhood One year a family friend brought this dip to our block gathering with all the kids lining up for seconds no one missed the campfire
Freezer Meal Conversion
It is best not to freeze this dip as the marshmallow texture changes once thawed If you wish to save time prep the chocolate base ahead and refrigerate covered Add marshmallows and bake fresh before serving
 Save
Save Enjoy this Spooky S'mores Dip warm from the oven with friends or family for guaranteed autumn smiles. Every bite blends gooey, chocolatey comfort with Halloween excitement.
Kitchen Tips & Answers
- → Can I make this ahead of time?
It's best served fresh from the oven, but you can assemble the layers in advance and bake just before serving.
- → What type of marshmallows should I use?
Large regular marshmallows work well, but ghost-shaped or themed options add a festive look for Halloween.
- → What alternatives can I use for dipping?
Graham crackers are classic, but sliced strawberries, apple wedges, or gluten-free crackers work great too.
- → Is it possible to add more flavors?
Yes, a layer of peanut butter or caramel beneath the chocolate can add extra richness and variety.
- → How can I make this vegetarian or gluten-free?
Choose vegetarian marshmallows and opt for gluten-free graham crackers to accommodate dietary preferences.
- → What equipment do I need to prepare this dessert?
An oven-safe baking dish or skillet, a microwave-safe bowl for melting chocolate, and a spatula are essential tools.