 Save
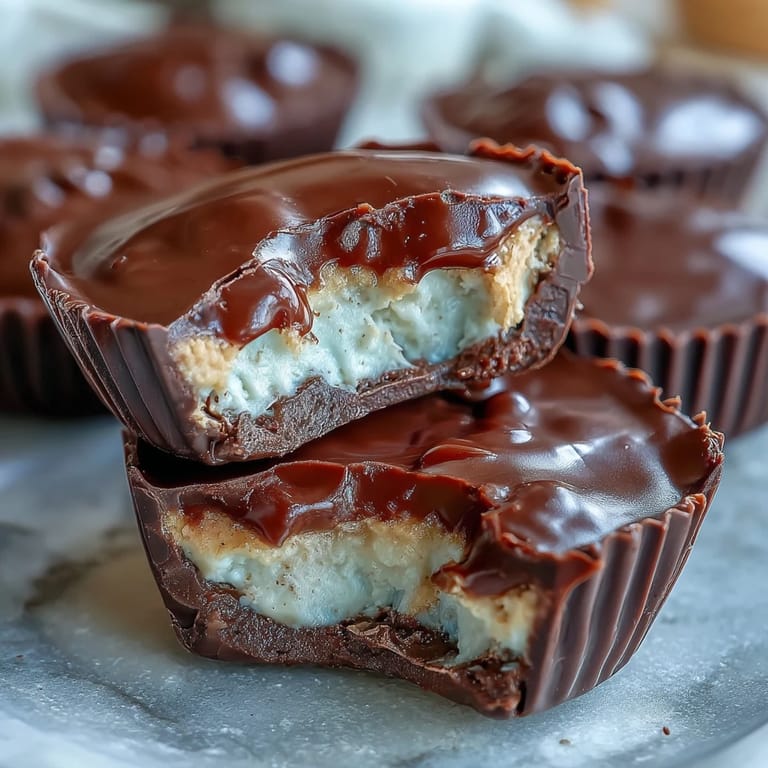
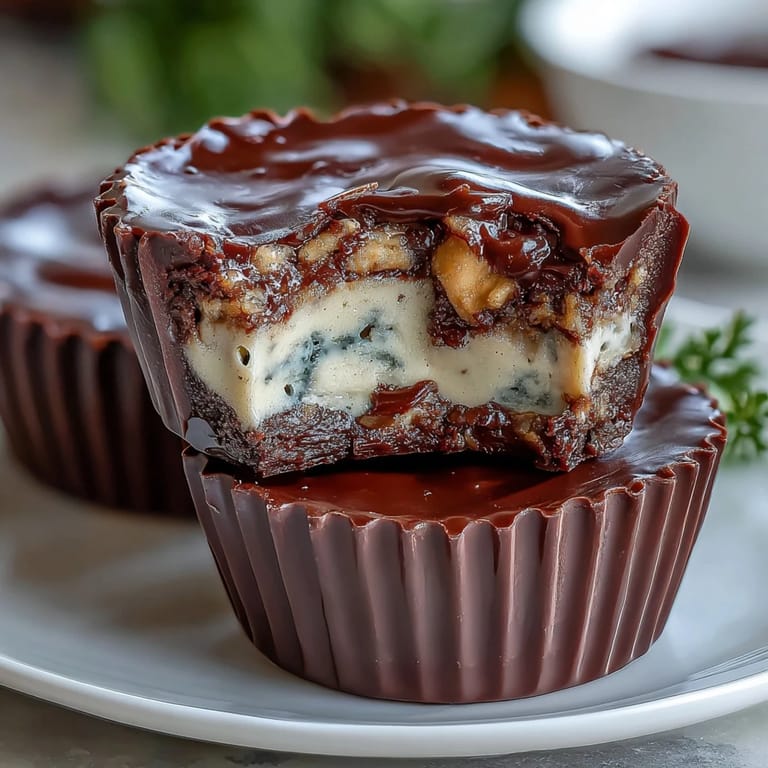
Save My coworker casually mentioned she was tired of protein bars tasting like cardboard, so I spent a Saturday afternoon experimenting with layers of chocolate, peanut butter, and Greek yogurt in my tiny kitchen. The smell of melting dark chocolate mixed with the tangy yogurt had my roommate hovering nearby asking questions within minutes. What started as a quick test became something I couldn't stop making, and now these little cups live permanently in my freezer for those 3 p.m. moments when I need something that feels indulgent but keeps me full.
I made a batch for my sister's book club and watched four different people reach for seconds without asking what was in them first, then immediately asking for the recipe when they realized it was healthy. That moment of people genuinely enjoying something I made that also happened to be good for them felt like a small victory in the kitchen.
Ingredients
- Dark chocolate (70% cocoa or higher), chopped: The higher cocoa percentage cuts through the sweetness of the layers below and keeps these from feeling cloying, plus it sets properly when chilled.
- Coconut oil: Just a tablespoon helps the chocolate melt smoothly and sets with a better snap than chocolate alone.
- Natural peanut butter: The kind with just peanuts and salt works best since oils separate less predictably in the filling.
- Honey or maple syrup: Either works, though maple syrup has a slightly more subtle sweetness that lets the peanut butter flavor shine.
- Vanilla or unflavored whey protein powder: The vanilla adds warmth to the peanut layer, but unflavored works if you want the peanut taste to dominate completely.
- Thick Greek yogurt (full-fat or 2%): Full-fat stays creamier and smoother than nonfat, which can get grainy once frozen.
- Vanilla extract: A small amount prevents the yogurt filling from tasting too plain and adds complexity to the whole bite.
- Salt: A tiny pinch makes every layer taste more like itself and stops things from feeling one-dimensional.
Tired of Takeout? 🥡
Get 10 meals you can make faster than delivery arrives. Seriously.
One email. No spam. Unsubscribe anytime.
Instructions
- Set up your station:
- Line your mini muffin tin with paper liners and have everything ready before you start melting chocolate, because once it's warm you'll want to work quickly.
- Melt the chocolate:
- Chop your dark chocolate into small pieces so it melts evenly, then melt it with coconut oil in 30-second bursts in the microwave, stirring between each one until it's completely smooth and glossy. This prevents burnt chocolate that tastes bitter.
- Create the chocolate base:
- Spoon about a teaspoon of melted chocolate into each liner and use the back of the spoon to spread it slightly up the sides of the paper, making a little chocolate cup. Freeze for exactly 10 minutes so the base sets but doesn't get so hard that new layers won't stick.
- Mix the peanut butter layer:
- Stir together peanut butter, protein powder, and honey in a small bowl until it's completely smooth with no powder streaks visible. This mixture should be thick enough to hold its shape but spreadable enough not to crack when you flatten it.
- Combine the yogurt filling:
- In a separate bowl, fold together Greek yogurt, honey, vanilla extract, and a pinch of salt until creamy and uniform. Don't overmix or you'll break down the yogurt texture and it'll become watery.
- Layer the peanut butter:
- Pull the tin from the freezer and place about a teaspoon of peanut butter mixture on each chocolate base, then gently flatten it with the back of your spoon. This layer should be thin enough that the yogurt won't squish out when you add it on top.
- Add the yogurt filling:
- Top each peanut butter layer with about a teaspoon of the yogurt mixture and flatten gently with your spoon, creating an even layer. The yogurt should cover the peanut butter completely so the chocolate seal works properly.
- Seal with chocolate:
- Cover each cup with the remaining melted chocolate, making sure you fill all the edges and the tops are completely sealed so nothing escapes during freezing. If your chocolate has cooled and thickened, warm it again for 15 seconds in the microwave.
- Final freeze:
- Pop the entire tin into the freezer for at least 1 hour, though overnight is even better so the layers bond completely. You'll know they're ready when you push gently on one and it feels completely solid.
- Store and enjoy:
- Once frozen solid, pop them out of the liners and keep them in an airtight container in the refrigerator or freezer. They taste best when they're cold but not rock-hard straight from the deep freezer, so pull a few out 5 minutes before eating.
 Save
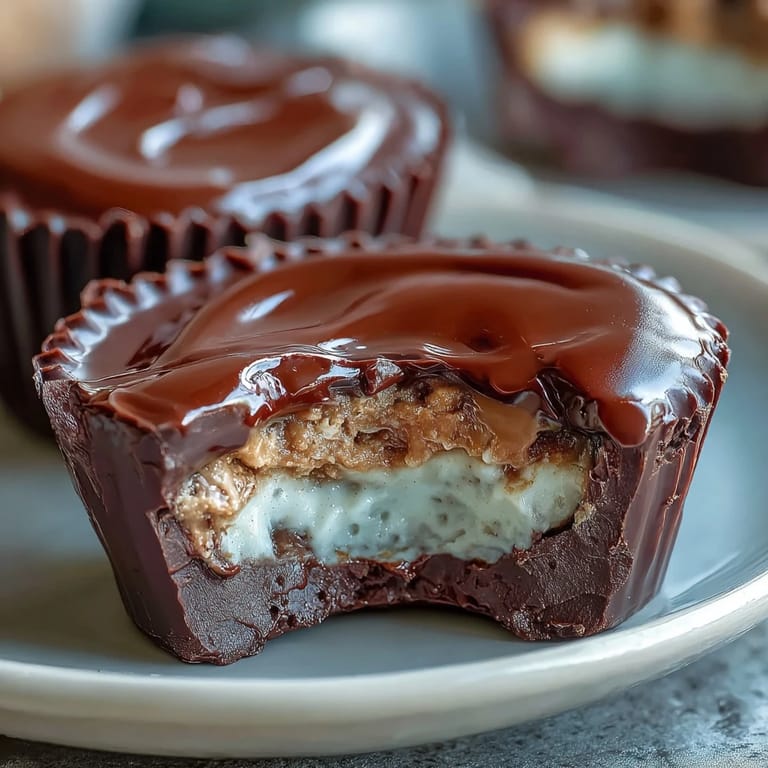
Save My mom tried one while I was showing her the process and got genuinely quiet for a moment, then said it tasted like something from a fancy chocolate shop but better because she knew exactly what was in it. That's when I realized these weren't just a snack hack, they were proof that homemade wins on taste and peace of mind.
Why Layering Matters
The magic of these cups isn't just in the ingredients, it's in keeping everything separate until the very end so each bite has distinct flavors and textures. When you rush the freezing steps or skip them, everything blends into a single chocolate-yogurt-peanut taste instead of surprising your mouth with three different things. I learned this the hard way by trying to layer everything at room temperature, and it turned into a swirled mess that tasted fine but looked nothing like what I imagined.
Customizing Your Cups
Once you nail the basic formula, these are endlessly flexible depending on what you have on hand or what flavor mood you're in. I've swapped the vanilla for almond extract, tried sunflower seed butter for a friend with a peanut allergy, and even added a tiny pinch of cinnamon to the yogurt layer one morning because I was feeling it. The protein powder is also your playground—chocolate or peanut butter flavors work beautifully if you want to lean further into those tastes.
Storage and Make-Ahead Tips
These actually improve after a day in the freezer because the flavors meld slightly and the texture becomes even smoother and creamier. You can make a full batch on Sunday and have grab-and-go snacks ready for the whole week without any last-minute prep work.
- Keep them in an airtight container with parchment between layers so they don't stick to each other in the freezer.
- Pull them out 5 minutes before eating if they're rock-hard from the deep freeze so the chocolate snaps instead of shatters.
- They last about 2 weeks frozen or up to 5 days in the regular refrigerator, though they get softer as they warm.
 Save
Save These cups prove that healthy eating doesn't mean sacrificing the joy of something that feels like a real treat. Every time I eat one, I'm reminded that taking 20 minutes to make something special for yourself is never wasted time.
Kitchen Tips & Answers
- → Can I use almond butter instead of peanut butter?
Yes, almond or sunflower seed butter can be substituted to accommodate peanut allergies without affecting texture.
- → Is it necessary to chill the cups before serving?
Chilling for at least an hour helps the layers set firmly for easier handling and better texture.
- → What type of chocolate works best for the outer layer?
Dark chocolate with 70% cocoa or higher melts smoothly and provides a rich, slightly bitter contrast to the sweet fillings.
- → Can I prepare these ahead of time?
Yes, they store well in the refrigerator and can be made in advance for convenient snacking.
- → How do I make these lower in sugar?
Substitute honey or maple syrup with stevia or a sugar-free syrup for a reduced sugar option.