 Save
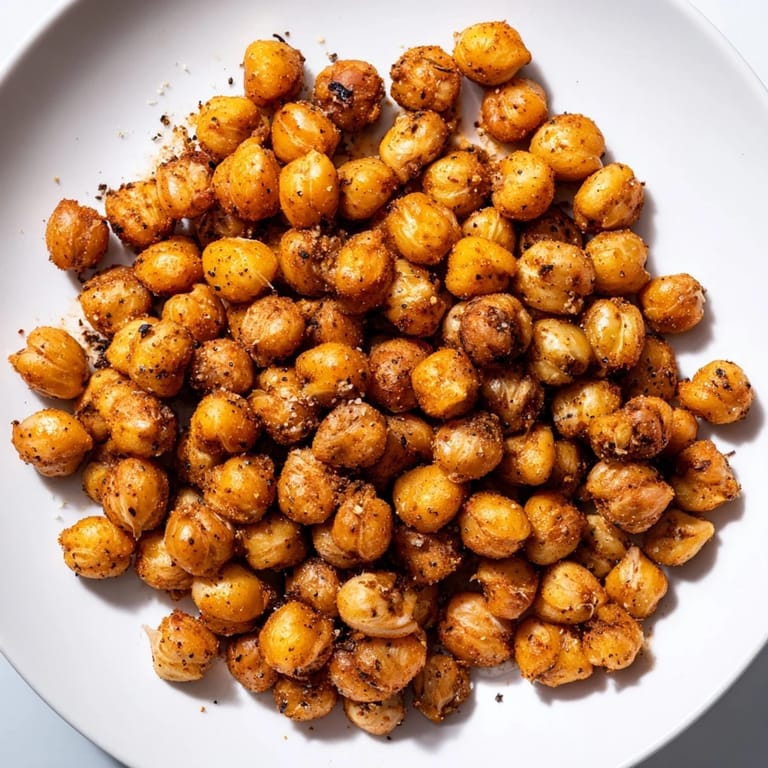
Save I discovered roasted chickpeas by accident one afternoon while rummaging through my pantry, looking for something to snack on that didn't require much effort. A can of chickpeas caught my eye, and I wondered what would happen if I just threw them in the oven with some spices. The result was addictive—crispy little nuggets that tasted nothing like the soft beans I'd eaten in salads. Now I make them constantly, and they've become the snack I reach for when I need something substantial and satisfying.
I served these at a casual dinner party once, and my friend who usually reaches for the chips ended up eating half the bowl before the main course arrived. I watched her pop another handful and grin—that's when I knew this simple snack had real staying power. Everyone asked for the recipe afterward, and it's become my go-to thing to bring to gatherings.
Ingredients
- Chickpeas: One 400g can, drained and rinsed—or use 250g of cooked chickpeas if you're starting from dried. The canning liquid needs to come off completely.
- Olive oil: 2 tablespoons to coat and help them crisp up in the heat.
- Sea salt: 1/2 teaspoon to season without overpowering.
- Smoked paprika: 1/2 teaspoon for that gentle smoky warmth.
- Ground cumin: 1/2 teaspoon, earthy and subtly sweet.
- Garlic powder: 1/4 teaspoon for depth without any burn.
- Black pepper: 1/4 teaspoon, just enough to keep things interesting.
- Cayenne pepper: 1/4 teaspoon optional, if you like a gentle heat at the end.
- Nutritional yeast: 1 tablespoon optional, for a cheesy, umami note that makes them taste indulgent.
Tired of Takeout? 🥡
Get 10 meals you can make faster than delivery arrives. Seriously.
One email. No spam. Unsubscribe anytime.
Instructions
- Get your oven ready:
- Preheat to 200°C (400°F) and line a baking sheet with parchment paper. This matters more than you'd think—parchment prevents sticking and helps them brown evenly.
- Dry those chickpeas:
- Pat them thoroughly with a clean kitchen towel until they feel almost papery. Any moisture left behind will steam instead of crisping, and that's the enemy of crunch.
- Season generously:
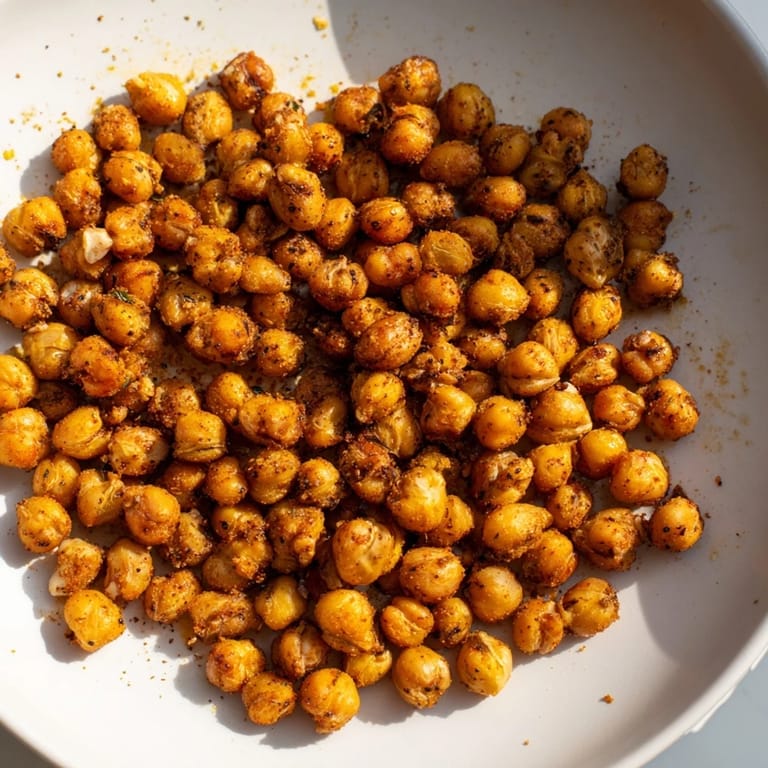
- Toss the dried chickpeas in a large bowl with olive oil, salt, paprika, cumin, garlic powder, black pepper, and any add-ins you're using. Make sure every bean gets a light coating—the oil carries all the flavor.
- Spread and roast:
- Lay them out in a single layer on your prepared sheet and slide into the oven. They'll need 35 minutes total, but don't ignore them—shake the pan or give them a good stir every 10 minutes so they brown evenly and nothing burns on the bottom.
- Cool and serve:
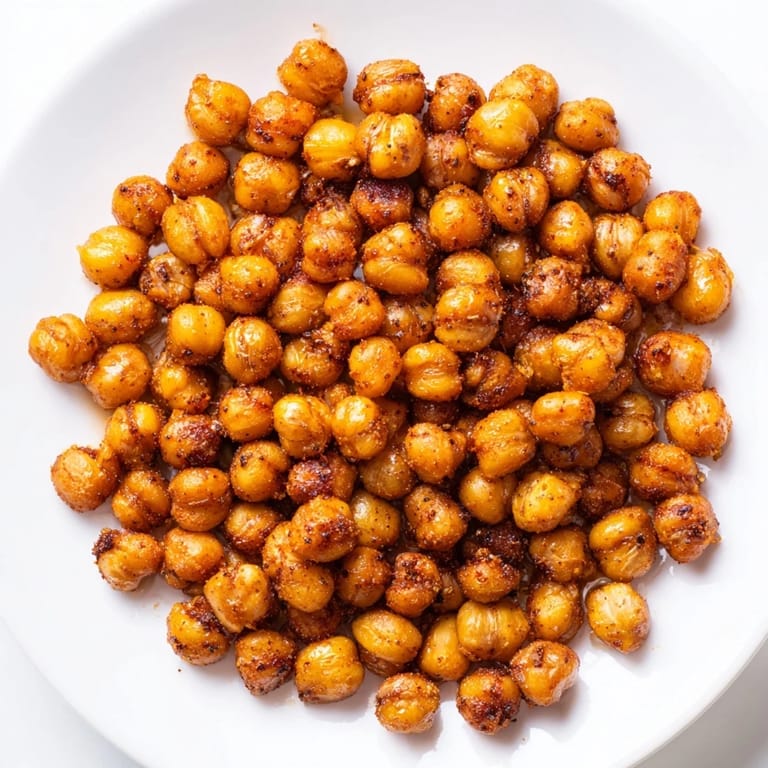
- When they're golden and smell toasted, pull them out and let them rest for a few minutes. They firm up even more as they cool, so don't be alarmed if they feel slightly soft at first.
 Save
Save There was a morning I made these before heading to work and left them cooling on the counter. When I got home, they were perfectly crisp and had somehow become even more flavorful as they sat there. It felt like I'd stumbled onto something that improved with patience, which is rare in cooking.
Storage and Keeping Them Fresh
Let them cool completely before tucking them into an airtight container at room temperature—this is non-negotiable if you want them to stay crispy. They'll keep for up to three days, though honestly, they rarely last that long in my house. If they somehow soften up, a quick 5-minute refresh in a 180°C oven brings the crunch right back.
Flavor Variations to Try
Once you master the basic version, the fun really begins. I've experimented with curry powder for an Indian spin, Italian herbs for something more Mediterranean, and a chili-lime combo that tastes like a snack you'd find in a fancy health food store. Each variation tastes completely different, so they never get boring.
Why This Snack Changed My Afternoons
Before these, I'd reach for packaged snacks and feel that familiar afternoon slump afterward. Now I have something that's genuinely satisfying without making me sluggish.
- Toss them into salads for extra crunch and protein without any fussing.
- Mix them into grain bowls where they add texture and keep everything interesting.
- Eat them straight from the container as a mindless snack that's actually good for you.
 Save
Save This snack has become my proof that the best recipes often come from happy accidents and a willingness to see what happens when you roast something unexpected. Make them once, and they'll become a staple you return to again and again.
Kitchen Tips & Answers
- → How do I ensure chickpeas get crispy?
Dry chickpeas thoroughly before roasting and spread them in a single layer on a baking sheet. Stir every 10 minutes during roasting to crisp evenly.
- → Can I customize the seasoning?
Yes, you can experiment with spices like curry powder, Italian herbs, or chili lime to vary the flavor profile.
- → What is the best way to store the snack?
Allow chickpeas to cool completely, then store in an airtight container at room temperature for up to 3 days to maintain crunch.
- → Are canned chickpeas suitable for this snack?
Yes, rinsed and drained canned chickpeas work well. Check labels to avoid added preservatives or salt.
- → Can I add a cheesy flavor?
Adding nutritional yeast provides a cheesy note without dairy, enhancing the snack’s flavor naturally.