Save
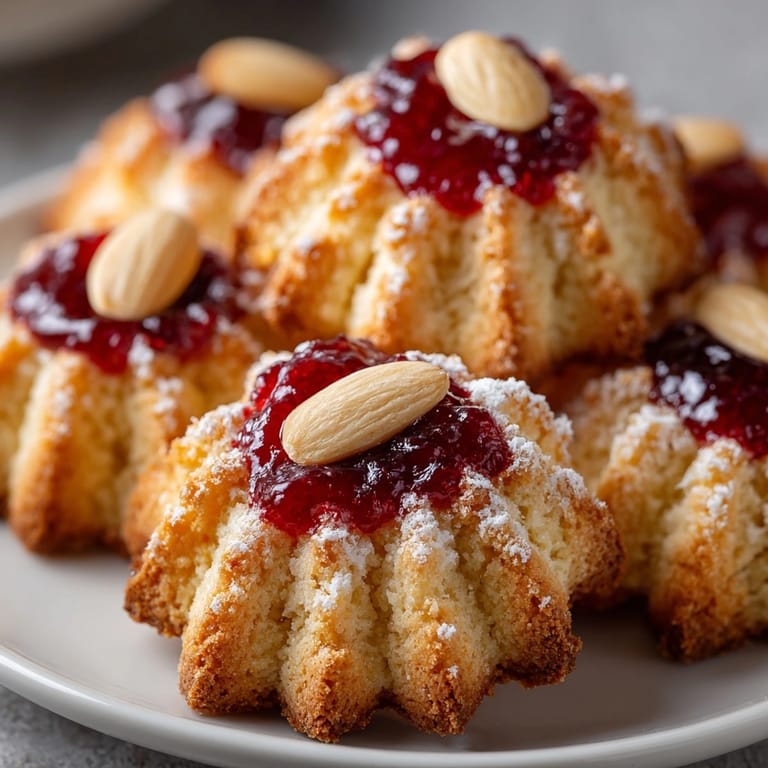
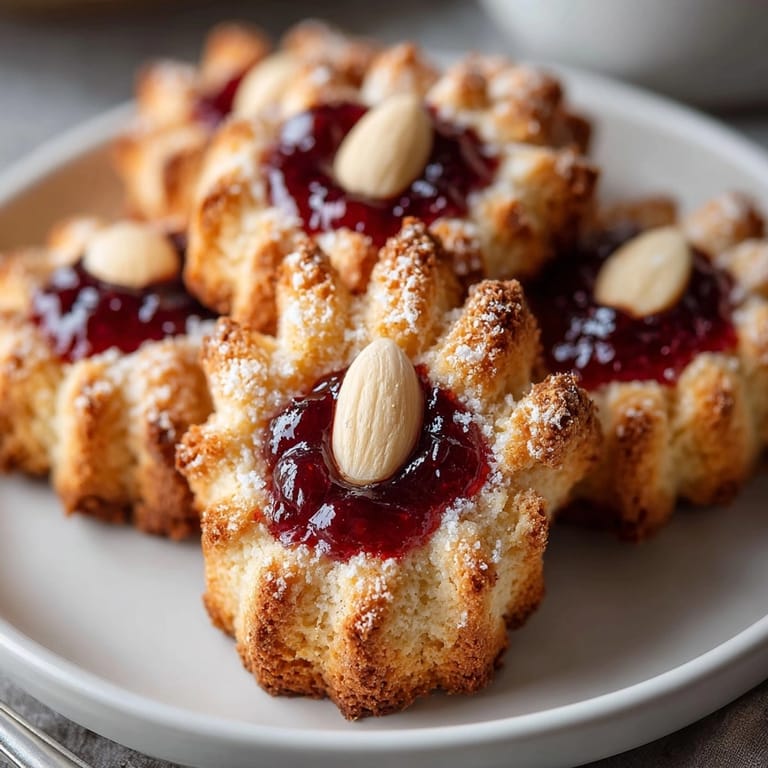
Save These Keto Almond Witch Finger Cookies are my favorite Halloween treat when I want something festive yet stay true to a low-carb lifestyle. Buttery almond dough gets shaped into spooky, gnarly fingers that are fun for kids to make and always get a reaction at parties. They taste just like classic shortbread, but you would never guess they are gluten free and keto friendly.
I first made these for my niece’s costume party, and even the kids who “hate healthy food” devoured them. Now my family requests them every October.
Ingredients
- Blanched almond flour: gives these cookies a delicate nutty structure Look for fresh almond flour without a bitter aroma
- Coconut flour: absorbs moisture and helps the cookies hold shape Use fine ground coconut flour for the smoothest texture
- Powdered erythritol: adds sweetness without sugar and keeps these keto-friendly A very fine powder is best to avoid grittiness
- Unsalted butter: brings richness and that signature shortbread crumb Soften well to help the dough bind
- Large egg: binds everything together and keeps the cookies tender Choose pasture-raised for best flavor
- Vanilla extract: deepens the bakery-style sweetness Use pure vanilla for the best results
- Almond extract: intensifies the flavor and gives that signature marzipan hint
- Baking powder: lifts the cookies slightly so they are tender not dense
- Fine sea salt: balances the sweetness Use quality sea salt for a better finish
- Whole blanched almonds: complete the witch finger look as realistic fingernails They also add a satisfying crunch
- Sugar-free raspberry or strawberry jam: adds a spooky bloody effect Choose one with real fruit if possible and no added sugars
Tired of Takeout? 🥡
Get 10 meals you can make faster than delivery arrives. Seriously.
One email. No spam. Unsubscribe anytime.
Instructions
- Preheat and Prep:
- Set your oven to 325 degrees Fahrenheit or 165 degrees Celsius Line a baking sheet with parchment paper to prevent sticking and ensure even browning
- Mix Dry Ingredients:
- Combine almond flour coconut flour powdered erythritol baking powder and sea salt in a medium bowl Whisk thoroughly so your cookies bake up evenly
- Cream Butter and Wet Ingredients:
- In a separate large mixing bowl blend the softened butter with the egg vanilla extract and almond extract Beat until the mixture looks creamy and smooth This is crucial for a tender texture
- Make the Dough:
- Slowly add the dry ingredients into the wet mixture Mix until a soft but workable dough forms It will feel slightly sticky but should hold together without crumbling
- Shape the Fingers:
- Scoop out roughly one tablespoon of dough for each cookie Roll each portion between your hands into a thin finger shape Pinch and shape knuckle joints use your fingers or a small knife to create lines for realism The more imperfect the better for a spooky vibe
- Add the Almond Fingernails:
- Press one blanched almond firmly onto one end of each cookie to look like a nail Make sure it is set deep enough so it does not fall off while baking
- Add the Spooky Jam:
- If you want extra Halloween drama use a pastry brush or the tip of a knife to dab a bit of sugar-free jam at the base of each almond for a bloody effect
- Arrange and Bake:
- Place shaped cookies on the prepared sheet leaving a little room between them Bake for 16 to 18 minutes until just turning golden at the edges Do not overbake or they dry out
- Cool Completely:
- Let the cookies rest on the sheet for 10 minutes to firm up before moving them to a wire rack to cool The cookies will stiffen as they cool
 Save
Save My favorite part is pressing in the almonds for fingernails The kids laugh every time and sometimes we get creative with the jam for extra gory results
Smart Storage Tips
Keep cookies in a tightly sealed tin or jar at room temperature for five days If your kitchen is humid consider the fridge to preserve crispness You can freeze these by placing parchment between layers and sealing airtight They thaw in minutes
Ingredient Swaps and Tricks
Monk fruit sweetener or stevia blend can replace erythritol without changing results Margarine or vegan butter works if you want a dairy-free version For a nut-free vibe try sunflower seed flour but the color and flavor will change
Fun Serving Ideas
Serve on a Halloween board with edible eyes or gummies Make a batch for a party and let everyone decorate their own with jams or colored nut butters Pair with a cozy mug of spiced tea or keto hot cocoa for a special treat
Why Almond Cookies for Halloween
Almond cookies shaped as witch fingers come from the old tradition of shaping food for superstitious celebrations In my family they are a favorite Halloween ritual reminding us that treats can be spooky and wholesome
Seasonal Adaptations
You can use pumpkin spice or cinnamon in the dough for a fall twist Switch to sugar-free apricot jam for a yellowed nail look Add orange zest to the dough for citrusy brightness
 Save
Save For extra fun, shape the cookies exactly as you want because they will not spread. Make and freeze ahead for a quick spooky treat anytime.
Kitchen Tips & Answers
- → How do I achieve a realistic finger shape?
Roll each dough portion into a finger-like shape, then score knuckle lines with your fingers or a small knife for detail.
- → Can I substitute the sweetener?
Yes, swap powdered erythritol with your preferred keto sweetener, such as monk fruit, for similar results.
- → Are these treats suitable for gluten-free diets?
Absolutely, the recipe uses almond and coconut flours, both naturally gluten-free, making them ideal for those avoiding gluten.
- → What can I use for the bloody effect?
Brush sugar-free strawberry or raspberry jam at the base of the almond fingernail for a spooky look.
- → How should I store these cookies?
Keep them in an airtight container at room temperature for up to five days to maintain freshness and texture.
- → Are there any major allergens?
Yes, they contain tree nuts (almonds), dairy (butter), and egg. Check other ingredient labels for additional allergens.