 Save
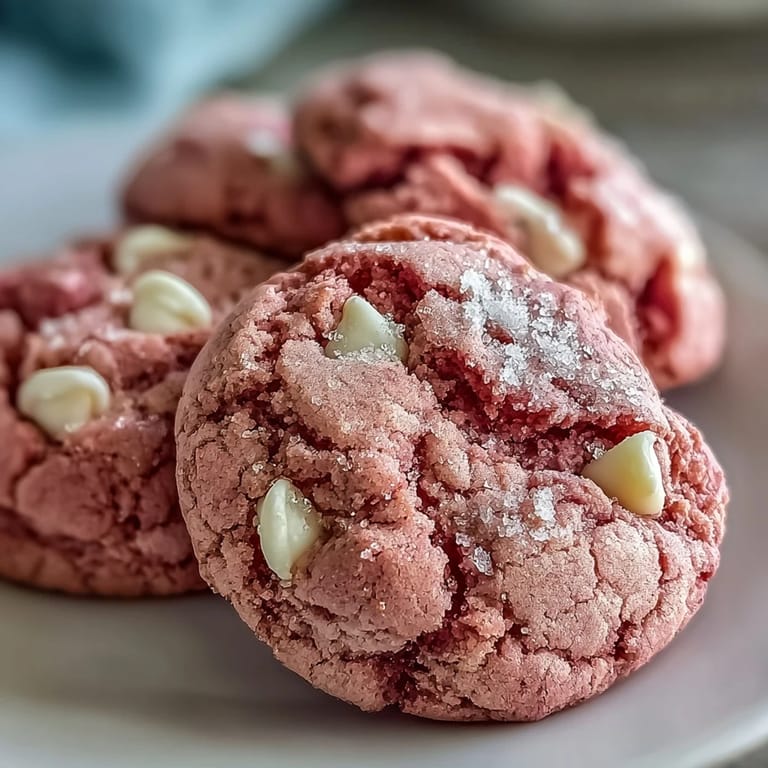
Save My kitchen counter looked like a science experiment gone beautifully wrong. I'd been aiming for a subtle rose blush, but somehow the dough turned this shocking, joyful carnival pink that made me laugh out loud. Sometimes the mistakes are the ones that make everyone gather around with wide eyes and grabby hands.
I brought a batch to my niece's birthday party and watched a six year old literally jump up and down while clutching one in each hand. Her mom whispered that she'd already eaten two and was negotiating for a third, which honestly, same energy.
Ingredients
- All-purpose flour: The foundation that gives these cookies their perfect chewy structure
- Baking powder and soda: The duo that creates those tender centers and slightly crisp edges
- Unsalted butter: Softened to room temperature so it creams beautifully into the sugar
- Granulated sugar: Sweetens and helps create that gorgeous crackly texture
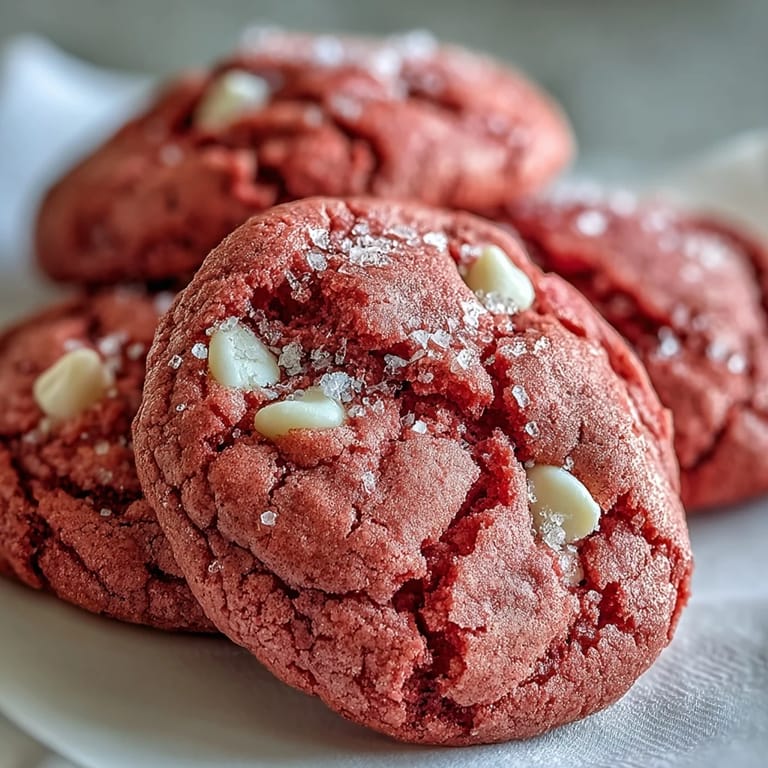
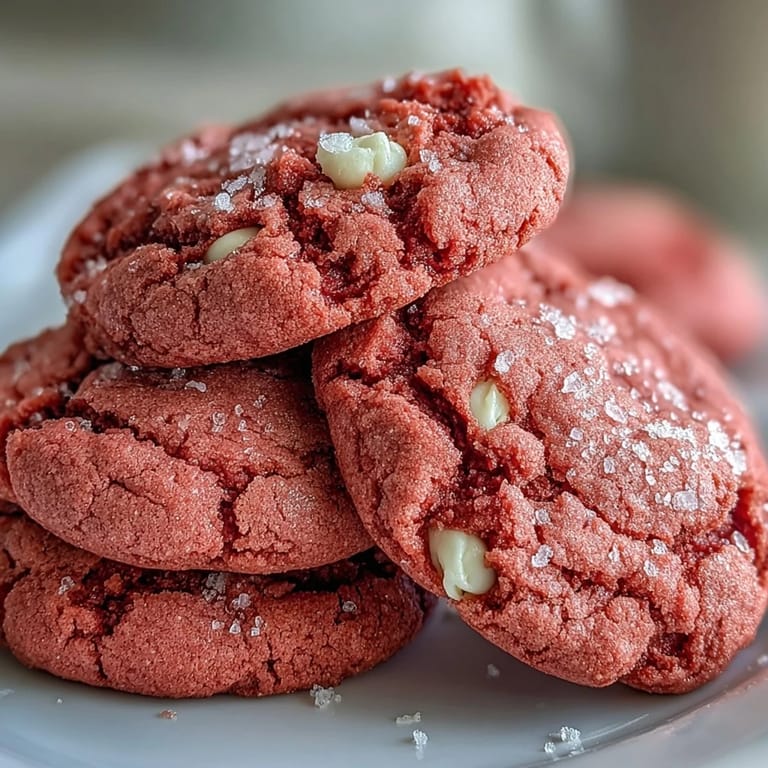
- Pink gel food coloring: Gel coloring gives you that vibrant pink without thinning out the dough
- White chocolate chips: Creamy little pockets that balance the sweetness perfectly
Tired of Takeout? 🥡
Get 10 meals you can make faster than delivery arrives. Seriously.
One email. No spam. Unsubscribe anytime.
Instructions
- Whisk the dry ingredients together:
- Combine the flour, baking powder, baking soda, and salt in a medium bowl until everything is evenly distributed
- Cream the butter and sugar:
- Beat the softened butter and sugar for about 2 to 3 minutes until the mixture turns pale and fluffy
- Add the egg and vanilla:
- Mix in the egg and vanilla extract until fully incorporated, then add your pink gel coloring and watch the magic happen
- Combine the mixtures:
- Gradually pour in the dry ingredients on low speed, mixing just until you no longer see streaks of flour
- Fold in the white chocolate chips:
- Use a spatula to gently fold in the white chocolate chips until evenly distributed throughout the pink dough
- Chill the dough:
- Cover the bowl and refrigerate for 30 minutes so the cookies hold their shape while baking
- Preheat and prep:
- Heat your oven to 350°F and line two baking sheets with parchment paper
- Scoop and space:
- Drop tablespoon sized balls of dough onto the baking sheets, leaving about 2 inches between each one
- Bake to perfection:
- Bake for 10 to 12 minutes until the edges are set but the centers still look slightly soft and underbaked
- Cool completely:
- Let them rest on the baking sheets for 5 minutes before transferring to a wire rack
 Save
Save My sister called me at 9pm on a Tuesday, voice cracking and exhausted, asking if I had any of those pink cookies left. I dropped off a container on her porch and got a text at midnight saying she may have eaten half standing in her kitchen with the fridge door open.
Getting That Vibrant Pink Color
I learned the hard way that liquid food coloring turns your dough into a sticky mess that requires way more flour than the recipe calls for. Gel coloring is concentrated, so you get that shock of color without throwing off the texture or consistency.
The White Chocolate Secret
Regular chocolate chips compete with the pink aesthetic, but white chocolate chips make these look like little edible jewels. They also melt into these creamy puddles that taste incredible against the vanilla cookie base.
Making Them Ahead
You can scoop the dough balls onto a parchment lined baking sheet, freeze them until firm, then transfer to a freezer bag for fresh cookies whenever the craving strikes. They bake straight from frozen, just add 1 to 2 minutes to the baking time.
- Press a couple extra white chocolate chips into the tops before baking for extra pretty presentation
- Try adding a half teaspoon of almond extract for a subtle sophisticated flavor twist
- These make the most unexpected cookie sandwiches with cream cheese frosting sandwiched between two cooled cookies
 Save
Save There is something genuinely joyful about biting into a cookie that looks like it came from a fancy bakery but came out of your own oven. Happy baking!
Kitchen Tips & Answers
- → What gives these cookies their vibrant pink color?
The beautiful pink hue comes from the addition of pink gel food coloring to the dough. You can adjust the amount to achieve your desired shade, ensuring a lovely visual appeal.
- → Why is chilling the dough important for these cookies?
Chilling the dough for 30 minutes helps solidify the butter, which prevents the cookies from spreading too much during baking. This ensures they maintain their shape and have a lovely, chewy texture.
- → Can I make these cookies gluten-free?
Yes, you can easily adapt this bake to be gluten-free. Simply substitute the all-purpose flour with a 1:1 gluten-free flour blend. Always check your other ingredients for hidden gluten.
- → How can I enhance the flavor of these pink velvet delights?
For an extra layer of flavor, consider adding ½ teaspoon of almond extract along with the vanilla, or a few drops of rose water if you enjoy a floral note. These additions complement the sweet profile beautifully.
- → What's the best way to store leftover cookies?
To maintain their freshness and soft texture, store these cookies in an airtight container at room temperature. They will keep well for up to one week, perfect for enjoying throughout the week.
- → How do I know when the cookies are perfectly baked?
Bake the cookies for 10–12 minutes, or until their edges appear set, but the centers still look slightly soft. They will continue to firm up as they cool on the baking sheet and then on a wire rack, ensuring a perfectly chewy interior.