 Save
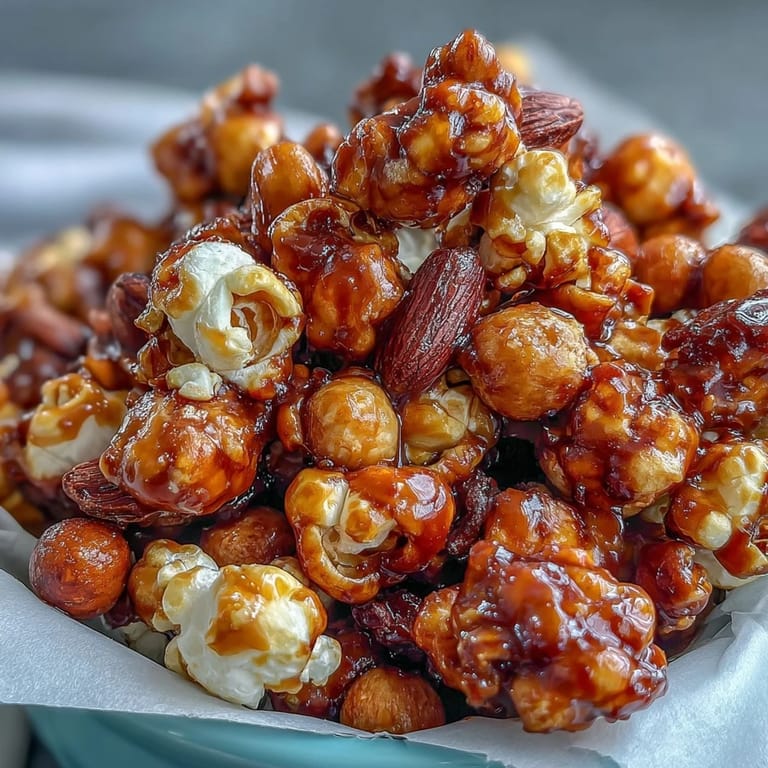
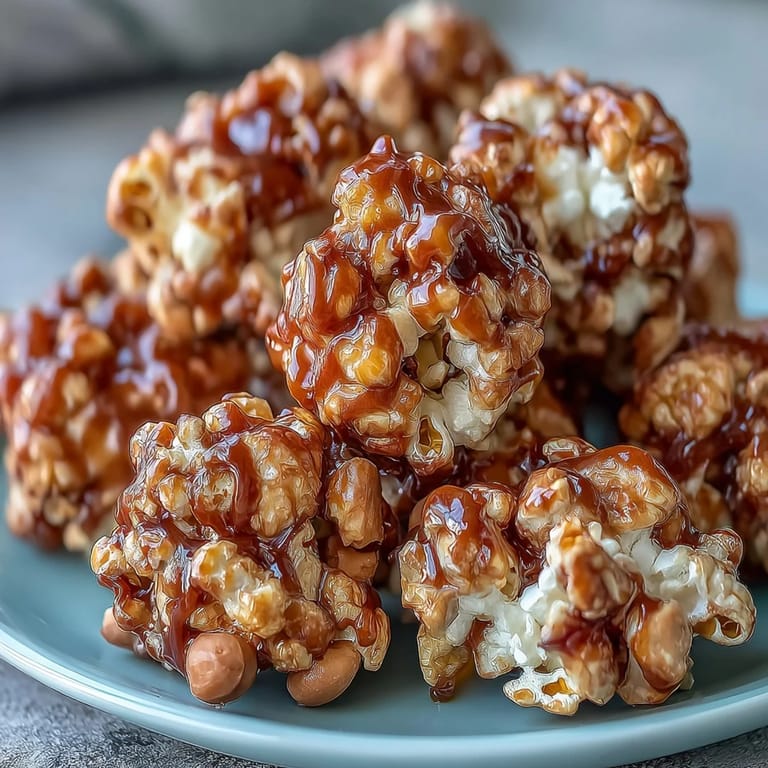
Save My neighbor knocked on the door one August afternoon with a tin of caramel popcorn mix, and I spent the next week trying to reverse-engineer it between innings of my son's baseball games. There was something magnetic about that combination of sweet, salty, and crunchy that kept me reaching back into the bowl during every timeout. After a few batches and some burnt caramel mishaps, I figured out the trick: boiling the caramel just long enough to deepen the flavor without burning it, then that surprising foam when the baking soda hits. Now this is what I make the night before we head to the ballpark or whenever friends gather for a movie marathon.
I'll never forget my daughter's face when she bit into her first handful at her friend's birthday sleepover and texted a photo with just three fire emojis. She came home asking if I could make it again before she'd even set her backpack down, which is how I knew I'd gotten it right.
Ingredients
- Freshly popped popcorn (10 cups): Pop it yourself just before mixing so the kernels are still warm and receptive to the caramel coating.
- Roasted, salted peanuts (1 cup): Don't skip the salt on the peanuts—it's what makes the whole thing sing when paired with the sweet caramel.
- Light brown sugar (1 cup, packed): Pack it down in your measuring cup so you get the right amount of molasses depth in the caramel.
- Unsalted butter (1/4 cup): Using unsalted lets you control the salt level, especially since the peanuts already bring saltiness to the party.
- Light corn syrup (1/4 cup): This keeps the caramel smooth and prevents crystalization, even if you're tempted to stir before time's up.
- Kosher salt (1/2 teaspoon): Kosher crystals dissolve faster than table salt and won't leave grittiness behind.
- Baking soda (1/4 teaspoon): This is what creates that magical foam and makes the caramel light and crispy instead of chewy.
- Pure vanilla extract (1/2 teaspoon): Don't reach for imitation here—real vanilla rounds out the flavor in a way that feels almost sophisticated in a snack mix.
Tired of Takeout? 🥡
Get 10 meals you can make faster than delivery arrives. Seriously.
One email. No spam. Unsubscribe anytime.
Instructions
- Set up your oven and prep:
- Preheat to 250°F and line your baking sheet with parchment paper so nothing sticks and cleanup is merciful. Having everything ready before you start the caramel means you won't panic when it's boiling and foaming.
- Combine popcorn and peanuts:
- Toss them together in a large bowl—this step seems simple but it distributes the peanuts evenly so no bite is missing that salty crunch. A large bowl also gives you plenty of room to maneuver when you pour in the hot caramel without splattering.
- Build the caramel:
- In a medium saucepan over medium heat, stir the brown sugar, butter, corn syrup, and salt until everything melts and the mixture turns a glossy amber. Watch for steam rising and listen for a gentle bubbling—that's when you know it's close.
- Let it boil without stirring:
- Once it comes to a boil, step back and let it bubble for 4 to 5 minutes exactly—I set a timer because looking at a boiling pot makes me anxious and I always want to stir. This short boil deepens the flavor and prevents the finished snack from tasting thin or one-dimensional.
- Add the magic ingredients:
- Pull the pan off heat and immediately stir in the baking soda and vanilla—the mixture will foam up like a science experiment and smell absolutely incredible. Resist the urge to walk away; keep stirring for just a few seconds until it calms down and turns creamy.
- Coat everything quickly:
- Pour the hot caramel over the popcorn and peanuts and use two wooden spoons or spatulas to toss until every piece is glossy and covered. Work fast because the caramel thickens as it cools, and you don't want any naked popcorn left behind.
- Spread and bake:
- Spread the mixture evenly on your prepared baking sheet and slide it into the oven for 45 minutes, stirring every 15 minutes with a wooden spoon. This stirring breaks up clumps and ensures the caramel adheres to everything rather than pooling in spots.
- Cool completely before serving:
- Let the mix sit on the baking sheet until it's completely cool—patience here is what makes it crispy instead of chewy. Once it's cool enough to touch without flinching, break it into clusters with your hands or a wooden spoon.
 Save
Save There's a moment during the initial caramel boil when my kitchen fills with this rich, butterscotch smell that makes everyone pause what they're doing and drift toward the kitchen. That's when I know this isn't just a snack anymore—it's become something worth gathering around.
When to Make This
Game day mornings are my favorite time to bake a batch because it's ready by afternoon and the house smells like caramel while the energy builds. Late summer weekends feel right too, when you're prepping to head somewhere and want to bring something that says you actually tried. It's equally at home in a paper cone at the ballpark or in a fancy jar as a gift, though homemade versions rarely make it to the gift stage because everyone opens them immediately to sneak a handful.
Customizing Your Mix
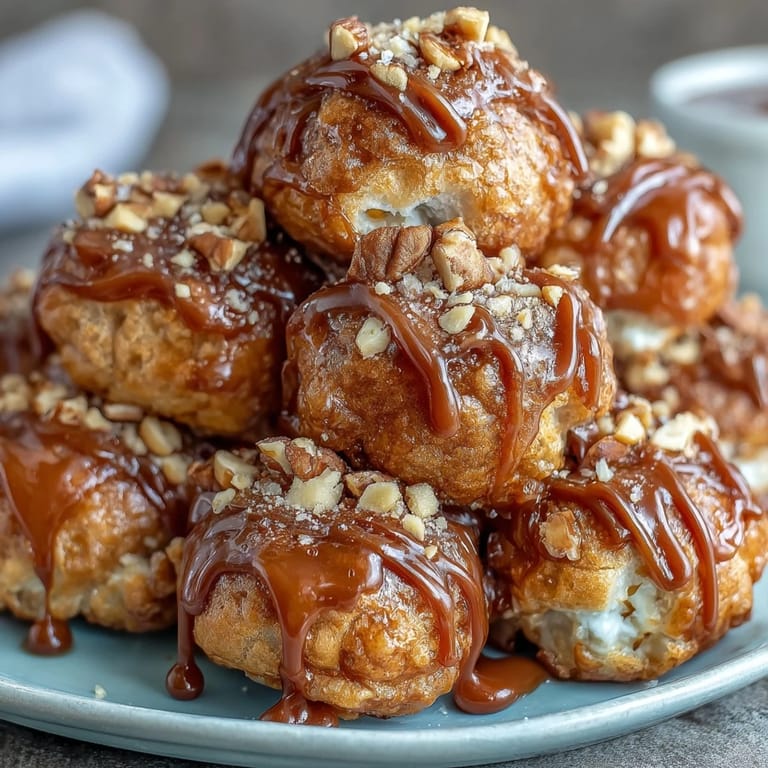
Once you master the basic recipe, the variations become endless and honestly half the fun. I've added mini pretzels for extra crunch, tossed in dark chocolate chips after cooling for a sweet-salty moment, and even tried a dusting of cinnamon sugar while the caramel was still warm. My brother swears by adding wasabi peas for heat, though I haven't been brave enough to attempt that one at a gathering where I need people to like me.
Storage and Longevity
This keeps well for up to a week in an airtight container, though I've never actually tested if it can last that long because it disappears much faster. The key is truly airtight—even a slightly loose lid will let it soften, especially on humid days. Here's my tried-and-true method for keeping it crispy:
- Store in an airtight container at room temperature, away from direct sunlight and heat sources.
- Add a few silica gel packets to absorb moisture if you live somewhere humid or near the coast.
- Layer parchment paper between batches if you're stacking them, which prevents pieces from sticking together.
 Save
Save This recipe taught me that the best snacks aren't the complicated ones but the ones that bring people together and taste like someone cared. Make this when you want to feel like the person who shows up with something special.
Kitchen Tips & Answers
- → How do I get the caramel to be light and crunchy?
Boil the caramel mixture without stirring for 4–5 minutes, then quickly add baking soda and vanilla. The foaming reaction creates a light, airy texture.
- → Can I use other types of nuts instead of peanuts?
Yes, roasted almonds or cashews can be substituted for peanuts to add variety in flavor and texture.
- → How can I make this mix dairy-free?
Use plant-based butter in place of unsalted butter for a dairy-free version without compromising flavor.
- → What is the best way to store the mix?
Keep the cooled mix in an airtight container at room temperature for up to one week to maintain freshness and crunch.
- → Can I add other ingredients to the mix?
Yes, consider adding mini pretzels or chocolate candies after the mix has cooled for extra texture and flavor.