 Save
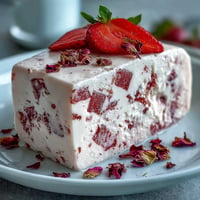
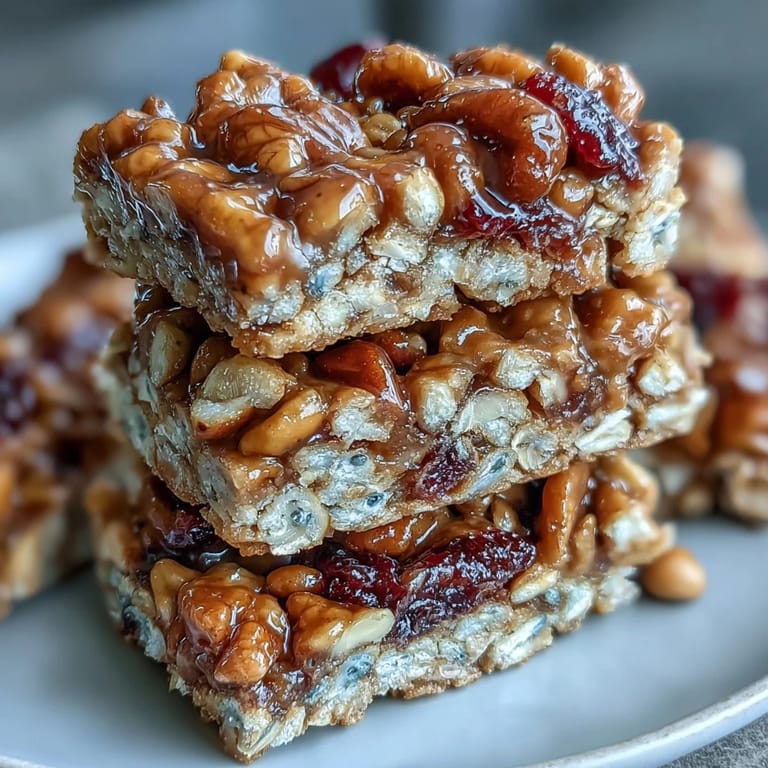
Save Last summer, I was packing for a hiking trip and realized I'd forgotten to grab snacks—so I threw together whatever was rattling around my pantry: oats, peanut butter, honey, dried cranberries, and some nuts. Twenty minutes later, I had these chewy, golden bars that tasted like I'd actually planned ahead. My hiking partner devoured three before we even reached the trailhead, and I've been making them ever since, tweaking the mix depending on what I find in the cupboard.
I made a batch for my nephew's soccer team fundraiser, and watching a bunch of sweaty teenagers reach for a second bar made me realize these weren't just convenient—they felt like actual homemade care. That's when I stopped treating them as a rushed snack and started treating them like something worth getting right.
Ingredients
- Old-fashioned rolled oats (2 cups): Use the thick-cut kind, not instant—they give you that satisfying chew and hold everything together naturally.
- Crisp rice cereal (1 cup): This adds a light crunch that keeps the bars from feeling dense, like you're eating a brick of sweetness.
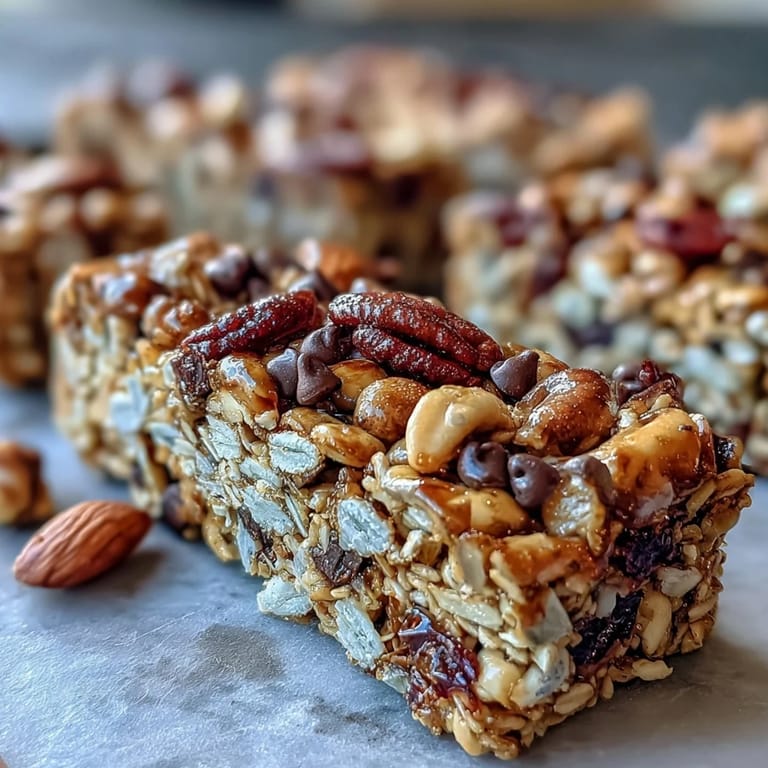
- Mixed nuts, chopped (1/2 cup): Almonds, walnuts, pecans—pick whatever you actually enjoy eating because you'll taste each one.
- Dried fruit (1/2 cup): Cranberries give tartness, raisins add chewiness, apricots bring brightness; mix them based on your mood.
- Unsweetened shredded coconut (1/4 cup, optional): If you use it, it adds texture and a subtle tropical note without making things overly sweet.
- Salt (1/4 teaspoon): This tiny amount makes the sweet flavors pop and prevents the bars from tasting one-dimensional.
- Honey or maple syrup (1/2 cup): Honey gives warmth; maple syrup adds earthiness—choose based on what you're pairing with your oats.
- Peanut or almond butter (1/3 cup): This is your binder and richness; creamy works better here than chunky because it distributes evenly.
- Vanilla extract (1 teaspoon): A small splash that somehow makes everything taste more like home.
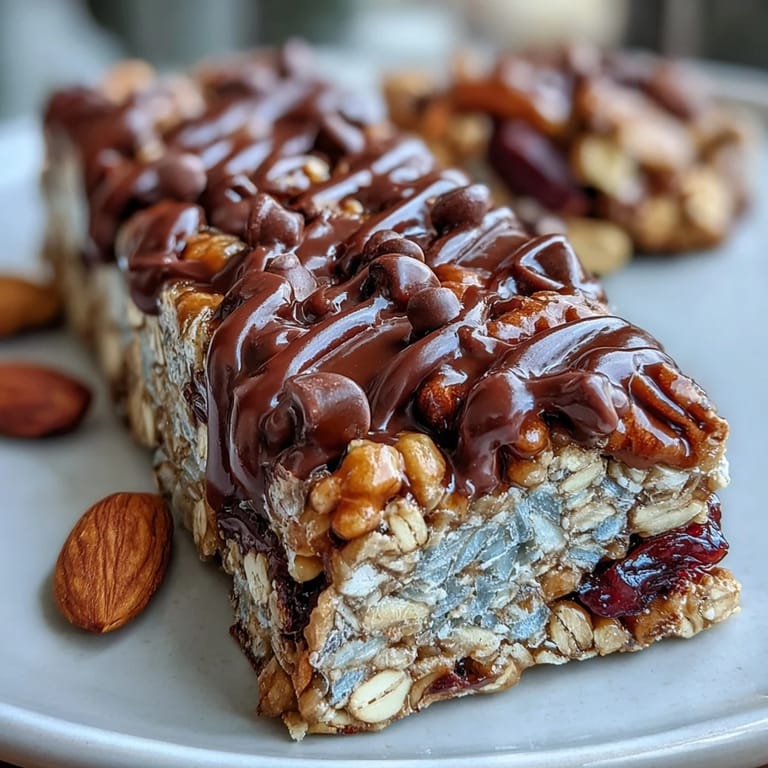
- Mini chocolate chips (1/4 cup, optional): Add them after the mixture cools slightly so they keep their shape instead of turning into streaks.
- Chia or flaxseeds (1 tablespoon, optional): These boost nutrition without changing the taste, though honestly the bars taste great without them too.
Tired of Takeout? 🥡
Get 10 meals you can make faster than delivery arrives. Seriously.
One email. No spam. Unsubscribe anytime.
Instructions
- Line your pan like you mean it:
- Lay parchment paper in an 8-inch square baking pan with a little overhang on two sides—this is how you'll lift the whole block out later without frustration. Smooth it down so it sits flat.
- Build your dry base:
- Combine the oats, rice cereal, nuts, dried fruit, coconut if using, and salt in a large bowl. Mix it all together so everything is distributed evenly, giving you a sense of what the final texture will feel like.
- Warm the sticky stuff:
- Pour honey and peanut butter into a small saucepan and set it over low heat, stirring every 30 seconds until it's smooth and warm—this usually takes 2 to 3 minutes. You'll smell the peanut butter come alive, which is your signal to remove it from heat and stir in the vanilla.
- Combine wet and dry:
- Pour that warm, fragrant mixture over your bowl of oats and ingredients, then stir until everything is coated and no dry bits remain. The warmth helps the honey coat everything evenly, and the whole thing will smell incredible.
- Add chocolate if you're using it:
- If you want chocolate chips, wait 2 to 3 minutes for the mixture to cool slightly, then fold them in so they don't melt into unrecognizable puddles. This small pause makes a real difference.
- Press into the pan:
- Transfer the mixture to your parchment-lined pan and use a spatula or the back of a measuring cup to press it down firmly and evenly. You want it compact but not rock-hard—it should feel like you're tucking it in rather than crushing it.
- Top it off if you like:
- Sprinkle extra chocolate chips or nuts on top and press them gently so they stick, creating little pockets of flavor in each bite.
- Let it set:
- Refrigerate for at least 1 hour until the bars are firm enough to cut cleanly. Patience here pays off; cutting them too early will give you crumbly disappointment.
- Cut and store:
- Use the parchment overhang to lift the whole slab out, then cut it into 12 bars with a sharp knife (a hot, damp knife helps if they're sticking). Store them in an airtight container in the fridge for up to a week, though they rarely last that long.
 Save
Save My daughter once asked why I always make these instead of buying granola bars from the store, and I realized it was because watching her choose her favorite nuts and dried fruit to mix in turned a snack into something she felt was hers. That's the real magic of this recipe—it's simple enough for anyone to make, but personal enough to feel special.
Why the No-Bake Approach Works
There's something liberating about not turning on the oven, especially when you're in a rush or the house is already warm. The honey and peanut butter do all the binding work without needing heat, which means you get a softer, chewier bar than anything baked would give you. Plus, the refrigerator sets everything perfectly without any risk of over-baking the edges.
Customizing Your Bars
The beauty of this recipe is that it tolerates changes beautifully. Swap the peanut butter for sunflower seed butter or tahini if nuts aren't your thing, use whatever dried fruit you have on hand, or add a pinch of cinnamon and cardamom for warmth. I once added a splash of almond extract and toasted the nuts first, and those bars became my personal gold standard.
Making Them Last
These bars are built to travel—throw them in a backpack, lunchbox, or picnic basket without worry. They hold up better than you'd expect, especially if you press them firmly into the pan and don't skimp on the chilling time.
- Keep them in an airtight container in the fridge and they'll stay fresh for up to a week, though the texture softens slightly as they sit.
- Wrap individual bars in parchment paper and freeze them for up to a month if you want to make a big batch and ration them out.
- Pair them with fresh fruit, yogurt, or iced tea for a complete snack that feels more thoughtful than just grabbing something from the pantry.
 Save
Save These bars have become my go-to move when I need to feel prepared without fussing—they taste homemade because they are, and they quiet that little voice that says I should have planned better. Make a batch this week and see how quickly they disappear.
Kitchen Tips & Answers
- → What ingredients bind the bars without baking?
Honey or maple syrup combined with peanut or almond butter creates a sticky mixture that holds the dry ingredients together when chilled.
- → Can I customize the nuts and dried fruit?
Yes, feel free to swap mixed nuts or dried fruit varieties to suit taste or dietary needs.
- → How long should the bars chill before cutting?
Refrigerate for at least one hour to ensure the bars set firmly for clean slicing.
- → Are there options for nut-free versions?
Sunflower seed butter can replace peanut butter to make a nut-free alternative.
- → Can spices be added for extra flavor?
Yes, adding cinnamon or cardamom enhances the flavor profile without affecting texture.
- → How should the bars be stored for freshness?
Store the bars in an airtight container in the refrigerator for up to one week.