 Save
Save Last winter, I was meal-prepping like crazy and stumbled upon this two-ingredient dough hack that changed everything. I honestly didn't believe it would work until I stood in my kitchen at midnight, flour dusted everywhere, pulling golden pockets out of the oven. My roommate wandered in, suspicious of my late-night baking experiment, and ended up eating three before admitting these were actually incredible. Now they're my go-to when I want something comforting but don't want to derail my fitness goals.
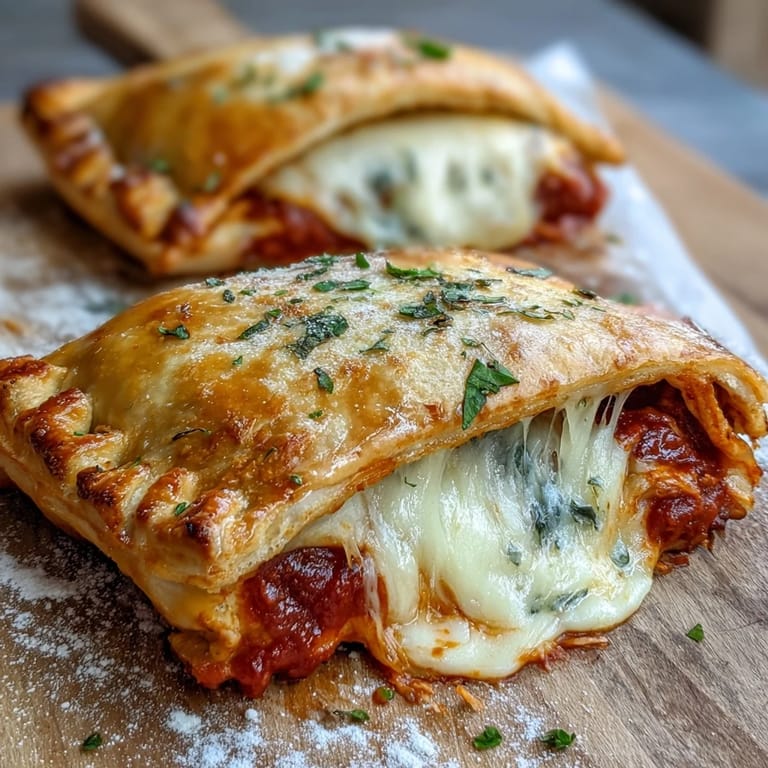
I made these for my sister who swears she can't cook anything beyond toast, and she texted me the next day saying she'd already batched them for her work week. There's something so satisfying about sealing the edges with a fork, watching them puff up in the oven, knowing you're about to bite into molten cheese. My niece now requests them every time she visits, which is basically the highest honor a recipe can achieve in my house.
Ingredients
- 1 cup low-fat Greek yogurt: This creates the protein-rich base for the dough and keeps it tender, but make sure to drain excess whey first for the best texture
- 1 cup all-purpose flour: The structure for your pockets, though you can experiment with almond flour blends if you're watching carbs
- 1 tbsp baking powder: Essential for giving the dough some lift so your pockets aren't dense bricks
- 1 tbsp Italian seasoning: Infuses the dough with that classic pizza flavor, but feel free to use whatever dried herbs you love most
- 1 tsp garlic powder: Builds savory depth throughout the dough, though fresh minced garlic works if you don't mind the extra prep
- 1 tsp salt: Crucial for balancing flavors, especially important since the dough itself is quite simple
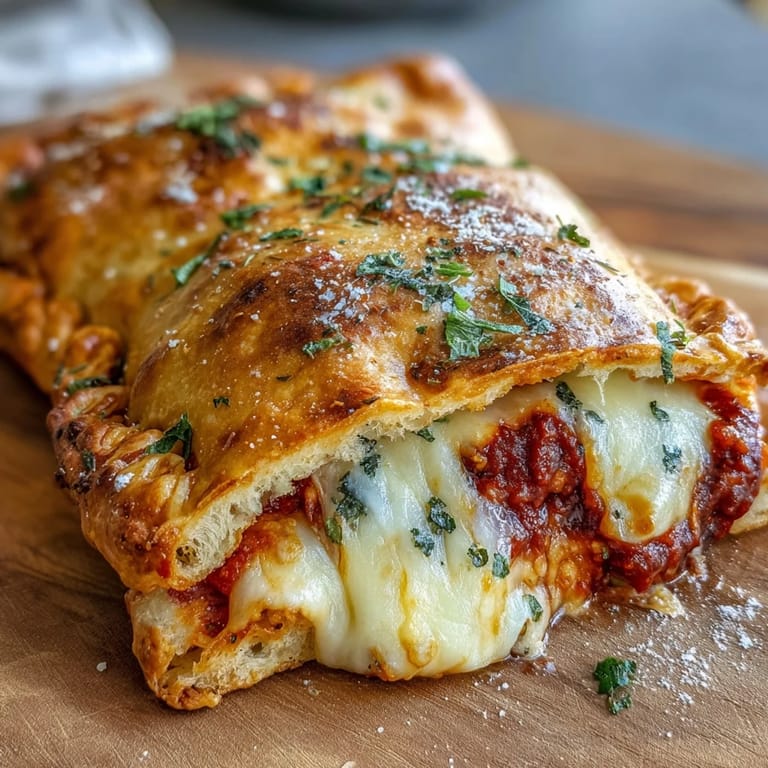
- 120 g pizza sauce: About one tablespoon per pocket, and don't skip spreading it to the edges for maximum flavor in every bite
- 160 g low-fat mozzarella cheese: One slice per pocket creates that perfect cheese pull without excessive grease or calories
Tired of Takeout? 🥡
Get 10 meals you can make faster than delivery arrives. Seriously.
One email. No spam. Unsubscribe anytime.
Instructions
- Heat things up:
- Preheat your oven to 375°F and line a baking sheet with parchment paper so nothing sticks and cleanup is effortless
- Mix the dry foundation:
- Whisk together the flour, baking powder, Italian seasoning, garlic powder, and salt in a large bowl until everything is evenly distributed
- Form the dough:
- Add the Greek yogurt and stir with a spatula until a shaggy mass forms, then dump it onto a floured surface and knead for 2 to 3 minutes until smooth and elastic
- Divide and roll:
- Split the dough into 8 equal pieces and roll each into an oval about 6 inches long, keeping them relatively thin so they bake evenly
- Fill them up:
- Spoon one tablespoon of sauce onto one half of each oval, leaving a half-inch border, then top with a slice of cheese
- Seal the deal:
- Fold the dough over filling and press edges tightly with a fork, using a dab of water if needed to help them stick together completely
- Bake to golden:
- Place pockets on your prepared tray and bake for 18 to 20 minutes until they're deeply golden and crisp to the touch
- The waiting game:
- Let them cool for 5 minutes because the cheese inside will be molten lava and nobody wants a burned roof of mouth situation
 Save
Save These became my emergency dinner when I started working late and didn't want to order takeout for the third time that week. My fitness coach actually asked for the recipe after seeing them in my meal prep photos, which felt like winning some kind of unofficial healthy cooking award. Now I keep a batch in the freezer for those moments when comfort food calls but I still want to hit my protein goals.
Make Them Your Own
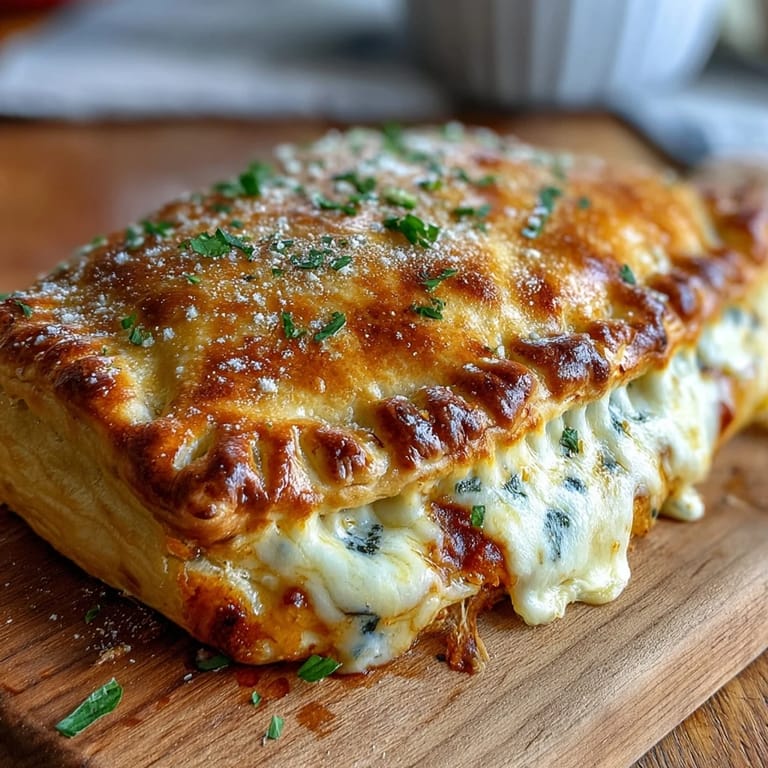
The filling possibilities are endless once you have the dough technique down. I've done spinach and feta, turkey pepperoni with extra cheese, and even a breakfast version with scrambled eggs and bacon. The dough itself is so forgiving that you can really get creative with whatever you have in the fridge.
Storage Secrets
These freeze beautifully and actually reheat better than store-bought versions. I wrap them individually and freeze for up to three months, then pop them straight into a 350°F oven for about 15 minutes when hunger strikes. The texture stays remarkably close to fresh-baked.
Serving Ideas
Sometimes I brush the tops with a little olive oil and extra seasoning right before baking for that restaurant-style golden finish. A side of marinara for dipping takes these to the next level, and a simple green salad balances out the meal perfectly.
- Try brushing with garlic butter during the last 2 minutes of baking for extra flavor
- Let them cool completely before freezing to prevent ice crystals from forming
- These reheat surprisingly well in a toaster oven for that fresh-baked crispiness
 Save
Save Hope these become your new favorite protein-packed comfort food too. There's something pretty magical about pulling a tray of these out of the oven, golden and bubbling, knowing you made something so satisfying from scratch.
Kitchen Tips & Answers
- → Can I freeze these for later?
Yes, these freeze exceptionally well. After baking, let cool completely then store in freezer-safe bags for up to 3 months. Reheat in a 350°F oven for 10-12 minutes or use a toaster oven until heated through and crisp.
- → What makes the dough high in protein?
The secret is Greek yogurt, which provides approximately 20 grams of protein per cup. Combined with the protein from flour and mozzarella cheese, each pocket delivers 25 grams of total protein, making these substantially more nutritious than traditional versions.
- → Can I make these low-carb?
Absolutely. Substitute the all-purpose flour with 3/4 cup almond flour and 1/4 cup coconut flour. This adjustment reduces carbohydrates significantly while maintaining the dough's structure and flavor profile.
- → Why is my dough sticky?
Sticky dough usually means the yogurt was too runny or you need more flour. Start with less flour and gradually add more while kneading until the dough becomes smooth and elastic. Dusting your hands and surface with flour helps prevent sticking.
- → Can I add meat fillings?
Certainly. Cooked lean ground turkey, chicken, or crumbled turkey bacon work wonderfully. Just ensure any meat is fully cooked before adding, as the baking time focuses on cooking the dough rather than heating fillings through completely.
- → How do I prevent the filling from leaking?
Leave a ½-inch border around the edges when adding filling, and seal firmly with a fork. If dough seems dry, lightly brush the border with water before folding and crimping. This creates a tight seal that keeps everything inside while baking.