 Save
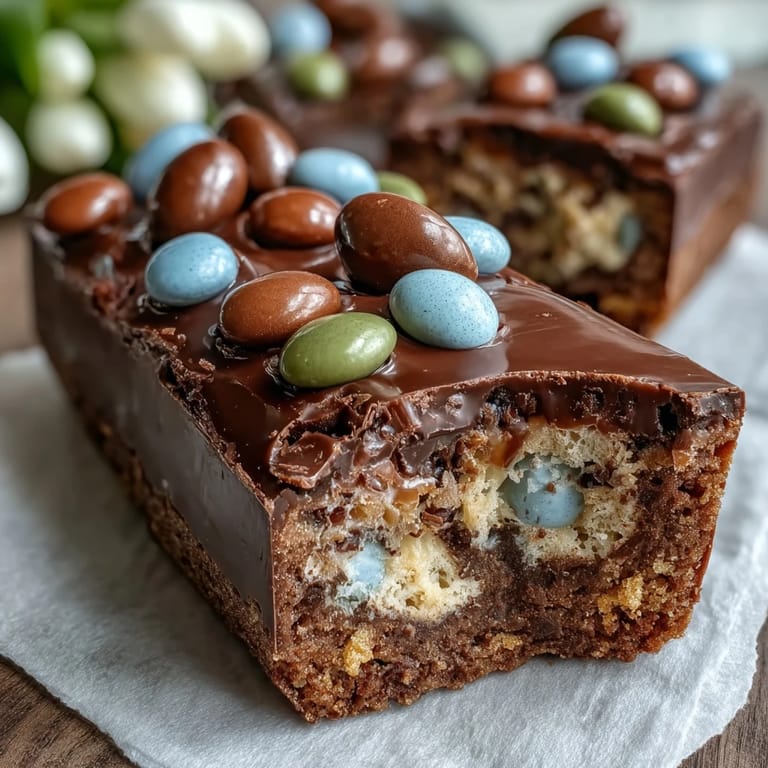
Save My kitchen smelled like melted chocolate and spring the afternoon I first made these bars, standing in front of the oven with my niece pressing her nose against the glass. She'd brought a bag of pastel M&Ms from an Easter hunt, and I had a box of Cadbury mini eggs left over from the holiday rush. Rather than letting them sit in the pantry, I thought: why not bake them together? That spontaneous decision turned into something we've made every April since, though now she's old enough to help whisk the butter and sugar.
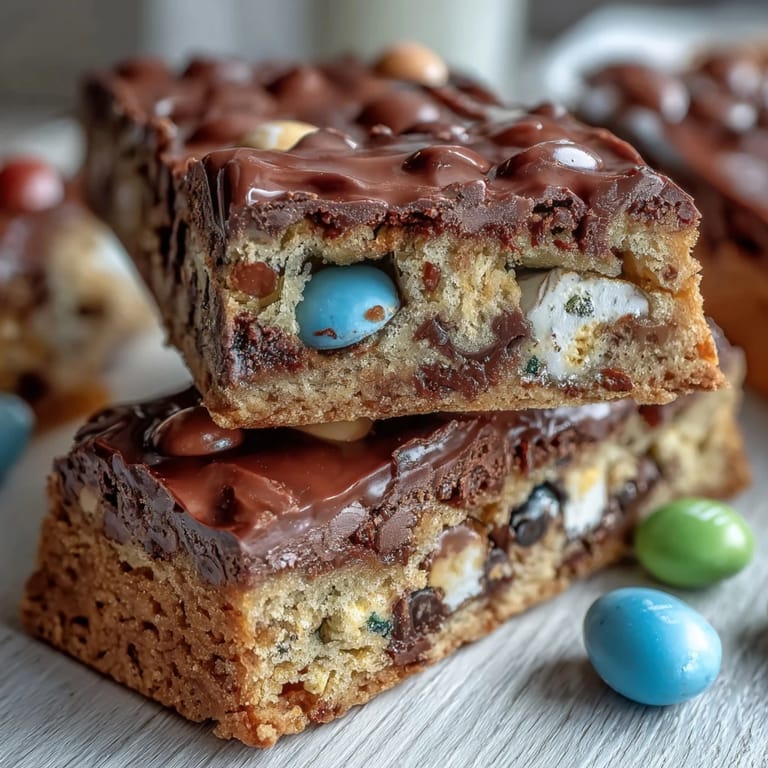
I brought a tray of these to a potluck last spring, and they disappeared faster than anything else on the table, which wasn't lost on me. A friend asked if I'd used real butter, and when I said yes, she nodded like that explained something important. Later that evening, she texted asking for the recipe, and I realized these bars had crossed from being just a fun Easter thing into something people actually wanted to eat year-round.
Ingredients
- All-purpose flour (2 1/4 cups): Use it straight from the bag without scooping and leveling if you prefer thicker, chewier bars—I learned this the hard way after one too many batches turned cake-like.
- Baking soda (1 tsp): This is what makes the edges spread and crisp up, so don't skip it or substitute it with baking powder.
- Salt (1/2 tsp): A small amount that keeps the sweetness from becoming cloying and brings out the chocolate flavor.
- Unsalted butter (3/4 cup, melted and cooled): Melting it first means the dough comes together faster and feels more uniform when the eggs go in.
- Brown sugar (1 cup, packed): The molasses in it adds chewiness and a slight caramel depth that granulated sugar alone can't deliver.
- Granulated sugar (1/2 cup): This works alongside the brown sugar to create structure and help the bars hold their shape when cool.
- Eggs (2 large, room temperature): Cold eggs don't incorporate smoothly, so leave them on the counter for 20 minutes before you start mixing.
- Vanilla extract (2 tsp): Pure vanilla is worth the extra cost here because it brings warmth to every bite.
- Cadbury mini eggs (1 cup, chopped): Chopping them into irregular pieces means some melts and some stays chunky, creating different textures throughout the bars.
- Pastel M&Ms (1 cup): Half goes into the dough for hidden sweetness, and half gets pressed on top so you see them when you bite down.
Tired of Takeout? 🥡
Get 10 meals you can make faster than delivery arrives. Seriously.
One email. No spam. Unsubscribe anytime.
Instructions
- Prep your pan and preheat:
- Line a 9x13-inch baking pan with parchment paper, letting it hang over the edges so you can lift the cooled bars out in one piece. Set your oven to 350°F and let it come to temperature while you gather your ingredients.
- Mix the dry base:
- In a medium bowl, whisk together flour, baking soda, and salt until there are no clumps hiding in the corners. This step ensures the baking soda distributes evenly, which makes the difference between bars that spread perfectly and ones that don't.
- Combine butter and sugars:
- Pour melted butter into a large bowl and add both sugars, whisking until the mixture looks smooth and slightly glossy. You should see no granules of sugar—they need to dissolve into the butter so the dough binds properly.
- Bring the wet mixture together:
- Crack the eggs into the butter mixture and add vanilla extract, whisking vigorously until everything is fully incorporated and looks pale and slightly fluffy. This takes about a minute of steady whisking, and you'll feel the mixture lighten under your whisk.
- Fold in the dry ingredients:
- Using a rubber spatula, gently fold the flour mixture into the wet mixture, stopping as soon as you don't see streaks of flour anymore. Overmixing at this point creates dense, tough bars instead of chewy ones.
- Add the candy:
- Fold in the chopped Cadbury mini eggs and half of the M&Ms using the spatula, folding gently so the candies stay mostly intact. You want them distributed throughout without crushing them into powder.
- Spread and top:
- Pour the dough into the prepared pan and use your spatula or the back of a spoon to spread it into an even layer. Scatter the remaining M&Ms and a few extra mini egg pieces across the top in a pattern that appeals to you.
- Bake until set:
- Bake for 23 to 26 minutes, watching for golden edges and a center that looks just barely firm when you gently tap the pan. The moment you see the edges turn golden is when you should start paying attention, because the difference between perfect and overbaked is about two minutes.
- Cool and cut:
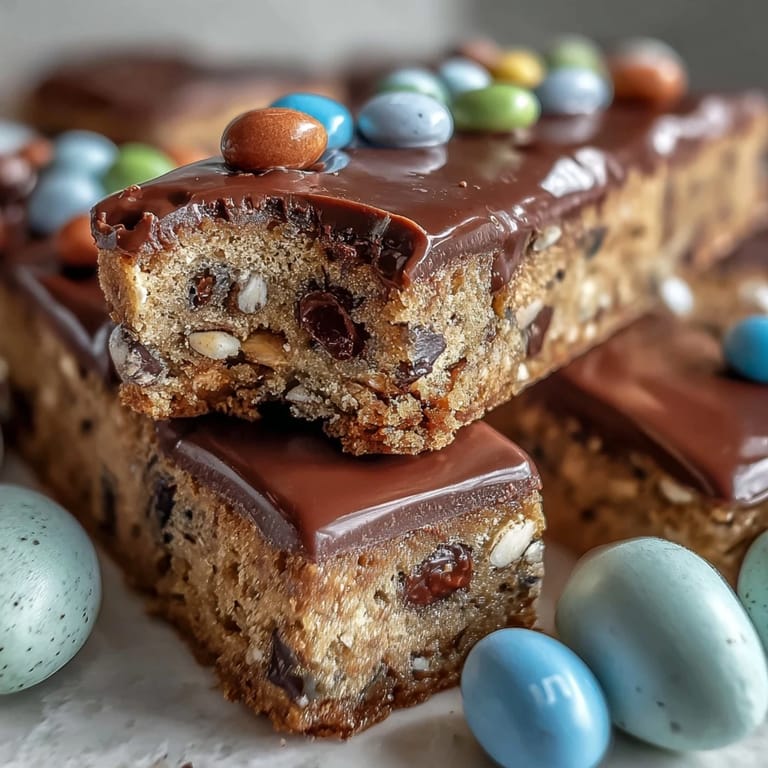
- Let the bars cool completely in the pan on a wire rack, which takes about 30 minutes. Once cool, use the parchment overhang to lift the entire slab out, then cut into 16 bars using a sharp knife, wiping the blade clean between cuts for neat edges.
 Save
Save These bars have become my way of saying yes to spring, and somehow they've turned into a tradition that people expect. My niece now makes them in her college dorm room with a hot plate and a mixing bowl, texting me photos of the results, and that feels like the highest compliment I could receive.
The Sweetness Balance
The combination of brown sugar, granulated sugar, and melted candy might sound like overkill, but each component does something different. Brown sugar brings moisture and a subtle molasses flavor, granulated sugar provides structure and helps the bars hold their shape, and the Cadbury eggs plus M&Ms create pockets of concentrated sweetness that make you want another bar. The balance between them is what keeps these from tasting one-dimensional or sickeningly sweet.
When to Stop Baking
Watching the oven is the most important skill here, because the window between perfectly chewy and slightly too set is narrow. I've found that the best moment is when the edges look golden and feel slightly firm to a light touch, but the center still has a tiny bit of jiggle. Once they cool, that residual heat finishes the job, and you get bars that break cleanly instead of crumbling.
Storage and Variations
These bars keep beautifully in an airtight container at room temperature for up to four days, though they rarely last that long in my house. They also freeze well if you want to make a double batch and have some waiting in the freezer for unexpected cravings. The recipe is flexible enough that you can swap regular M&Ms for the pastel ones, or try different chocolate eggs if Cadbury isn't available at the moment.
- Store in an airtight container and they'll stay soft for days, but keep them away from direct sunlight so the candy colors don't fade.
- You can freeze unbaked dough in the pan for up to three months, then bake straight from frozen with about five extra minutes in the oven.
- If you prefer crispier bars, bake for the full 26 minutes and let them cool longer before cutting.
 Save
Save These bars have taught me that sometimes the best recipes come from standing in your kitchen with someone you care about and just playing with what's on hand. I hope you'll make them and find your own reasons to love them.
Kitchen Tips & Answers
- → How do I achieve a soft texture in these bars?
Baking the bars until the edges are golden but the center is just set helps keep them soft and chewy. Avoid overbaking for best results.
- → Can I substitute Cadbury mini eggs and pastel M&Ms?
Yes, mini chocolate eggs or regular M&Ms can be used as substitutes if the original candies are unavailable.
- → What is the recommended cooling method?
Allow the bars to cool completely in the pan before cutting, ensuring clean slices and proper texture.
- → How should these bars be stored?
Store the bars in an airtight container at room temperature for up to 4 days to maintain freshness.
- → Are there common allergens in these bars?
Yes, these bars contain wheat, eggs, milk, and soy. The candy coating may also have traces of tree nuts and peanuts. Always check labels for allergen information.